

As a dedicated supplier of Range Hood Parts, I understand the importance of ensuring the proper functionality of a range hood motor. A well - functioning motor is the heart of any range hood, responsible for effectively removing smoke, odors, and grease from your kitchen. In this blog, I will share a detailed guide on how to test a range hood motor for functionality.
Initial Visual Inspection
Before diving into more technical tests, start with a thorough visual inspection. This can often reveal obvious issues that might be affecting the motor's performance.
First, check the physical condition of the motor. Look for any signs of damage, such as cracks in the casing, loose wires, or burnt components. A damaged motor casing can allow debris to enter, which may cause the motor to overheat or malfunction. Loose wires can lead to intermittent power supply or electrical shorts, while burnt components are a clear indication of overheating or electrical problems.
Next, examine the fan blades attached to the motor. Make sure they are clean and free from any build - up of Range Hood Grease. Grease accumulation can put extra strain on the motor, causing it to work harder and potentially leading to premature failure. If the fan blades are dirty, clean them carefully using a mild detergent and a soft brush.
Power Supply Check
The next step is to verify that the range hood motor is receiving the correct power supply.
- Check the Outlet: Ensure that the range hood is properly plugged into a functioning electrical outlet. You can test the outlet using a voltage tester. If the tester indicates that there is no power, check the circuit breaker or fuse box to see if a breaker has tripped or a fuse has blown. If so, reset the breaker or replace the fuse.
- Inspect the Cord: Examine the power cord for any signs of damage, such as cuts, frays, or exposed wires. A damaged cord can pose a serious safety hazard and may prevent the motor from receiving power. If you find any damage, replace the cord immediately.
- Test the Switch: The range hood's control switch is responsible for turning the motor on and off. To test the switch, use a multimeter set to the continuity mode. Remove the switch from the range hood and touch the multimeter probes to the switch terminals. If the multimeter shows no continuity when the switch is in the "on" position, the switch is likely faulty and needs to be replaced.
Resistance Testing
Resistance testing is a crucial step in determining the health of the range hood motor. A multimeter is used for this purpose.
- Disconnect the Motor: Before testing the motor's resistance, make sure the range hood is unplugged from the power source to avoid electrical shock. Locate the motor's wiring harness and carefully disconnect it.
- Set the Multimeter: Set the multimeter to the resistance (ohms) mode. Select an appropriate range based on the expected resistance of the motor. Consult the motor's specifications or the range hood's user manual for the correct resistance value.
- Test the Motor Windings: Touch the multimeter probes to the motor's terminals. The multimeter should display a resistance value within the specified range. If the resistance is significantly higher or lower than the expected value, it could indicate a problem with the motor windings, such as an open circuit or a short circuit. In this case, the motor may need to be replaced.
Performance Testing
Once you have completed the electrical tests, it's time to test the motor's performance.
- Reconnect the Motor: After completing the resistance test, reconnect the motor's wiring harness and plug the range hood back into the power source.
- Turn on the Range Hood: Set the range hood to its lowest speed setting and listen for any unusual noises. A properly functioning motor should run smoothly and quietly. Grinding, rattling, or squealing noises can indicate problems with the motor bearings, fan blades, or other components.
- Check the Airflow: Place a piece of paper near the range hood's intake grille. The paper should be firmly pulled towards the grille, indicating that the motor is generating sufficient airflow. If the paper is only slightly affected or not affected at all, there may be a problem with the motor or the ductwork.
- Test Different Speeds: Switch the range hood to its higher speed settings and observe the changes in airflow and noise level. The motor should increase in speed smoothly, and the airflow should become stronger. If there are any sudden drops in speed or if the motor fails to reach the higher speeds, it could be a sign of a motor problem.
Additional Considerations
In some cases, the issue with the range hood motor may not be directly related to the motor itself but rather to other components in the system.
- Ductwork Inspection: Check the ductwork for any blockages or restrictions. A clogged duct can reduce the airflow and put extra strain on the motor. Inspect the duct for kinks, bends, or debris, and clear any obstructions as necessary.
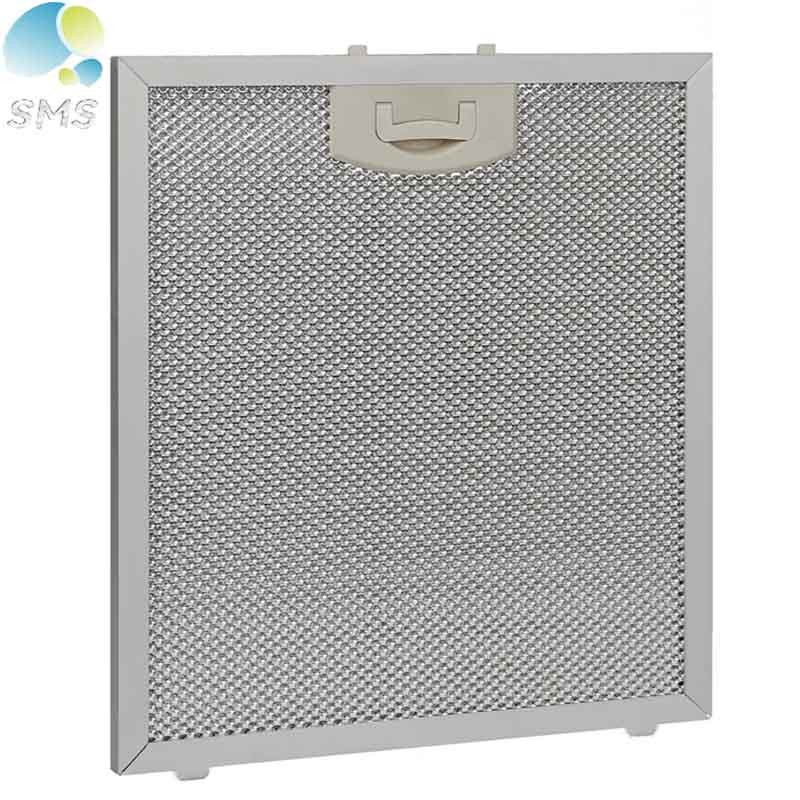
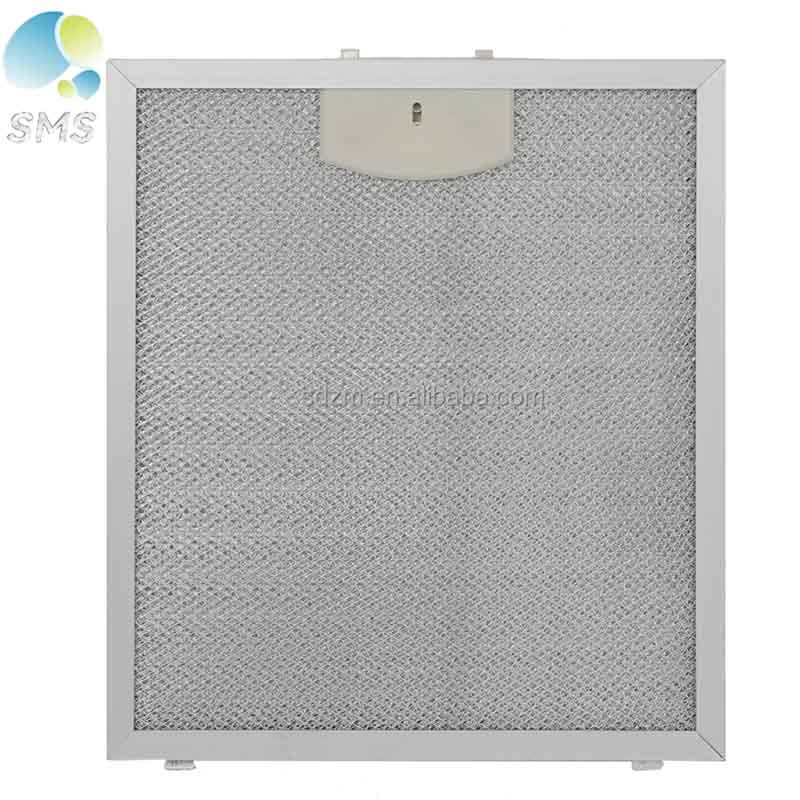
- Filters: Dirty or clogged filters can also affect the motor's performance. Replace the Carbon Charcoal Filter and whirlpool hood range filter regularly to ensure proper airflow.
Conclusion
Testing a range hood motor for functionality is a multi - step process that requires careful attention to detail. By following the steps outlined in this guide, you can identify and troubleshoot common problems with the motor. If you encounter any issues that you are unable to resolve on your own, it is recommended to seek the assistance of a professional technician.
As a Range Hood Parts supplier, we offer a wide range of high - quality parts to meet your needs. Whether you need a new motor, filters, or other components, we have you covered. If you are interested in purchasing our products or have any questions about range hood parts, please feel free to contact us for procurement and further discussions.
References
- "Range Hood Installation and Maintenance Guide", Manufacturer's Manual
- "Electrical Troubleshooting Handbook", General Electrical Knowledge Compilation